
How to create collections on Shopify: A complete guide to organising and bulk editing

Figuring out Shopify so you don't have to: a bit about me
Hello! I'm Kat, part of a team that's built a Shopify product management automation tool. I'm creating my own Shopify store to understand daily operations firsthand. Our customer feedback is valuable, but hands-on experience will enhance future product features. I love learning and doing things right, so I'm sharing what I've learned, best practices and my implementation to help other people learn about creating a Shopify store.
Hello! I'm back again with another article in my Shopify how-to series. In this post, I'll walk you through how to create collections on Shopify — a super important feature that can make or break your customer's shopping experience and boost your sales. I'll also be showing you how to add products to a collection in Shopify (including in bulk using the bulk collection editor).
For this post, I'll be using examples from the tech store that I'm setting up, but the principles apply to any industry. So even if you just want ideas for how to organise your collections in Shopify, I hope that this might help. Whether you're planning to migrate from WooCommerce to Shopify or you're already established on the platform, proper collection organisation is crucial for your store's success.
Table of contents
- What are collections in Shopify and why do they matter?
- Find what works best with your customers
- Smart vs. manual collections
- Advanced collection ideas
- How to create sub-collections in Shopify
- Benefits of well-organised collections
- Best practices for creating Shopify collections
- How to update Shopify collections in bulk
What are collections in Shopify and why do they matter?
Collections are really just a way to group your products together to make them easier for customers to find. You can think of them like the digital equivalent of departments in a physical store. They help customers to navigate through your products quickly and find exactly what they're looking for. That of course will directly impact your conversion rates and sales, making product catalogue management a vital aspect of your Shopify store.
When you're learning how to create collections on Shopify, it's important to understand their purpose first. Shopify suggests several examples of collections you might create, like clothes for different demographics, items of a certain type, sale items, items in a specific size or colour, or seasonal products. But being a lifelong tech geek and knowing a lot about shopping in this industry, I've decided on a different approach to categorise ours (or at least some additions). More on that in a bit.
Find what works best with your customers
To determine which Shopify collections work best for your specific customers, I recommend doing the following:
- Analyse your industry - Understand how customers typically shop in your industry. What are the common ways they look for products?
- Track performance - Use Shopify analytics to see which collections get the most traffic and conversions.
- Test different approaches - Try different collection structures and monitor which ones perform better with your audience.
- Gather customer feedback - Ask customers directly about their shopping experience and how they prefer to browse your products.
- Study competitors - Look at successful stores in your niche to see how they organise their products.
My tech store collections approach
After some initial research, rather than just grouping by type, I've created a hybrid approach that I believe better reflects how tech customers actually shop:
- Popular Collections — things people buy most often at the moment
- Use Cases - A "Gaming" collection with all gaming-related products. People often shop for gaming upgrades or set-ups.

- Product Categories - Basic groupings like Laptops, Desktops, and Memory
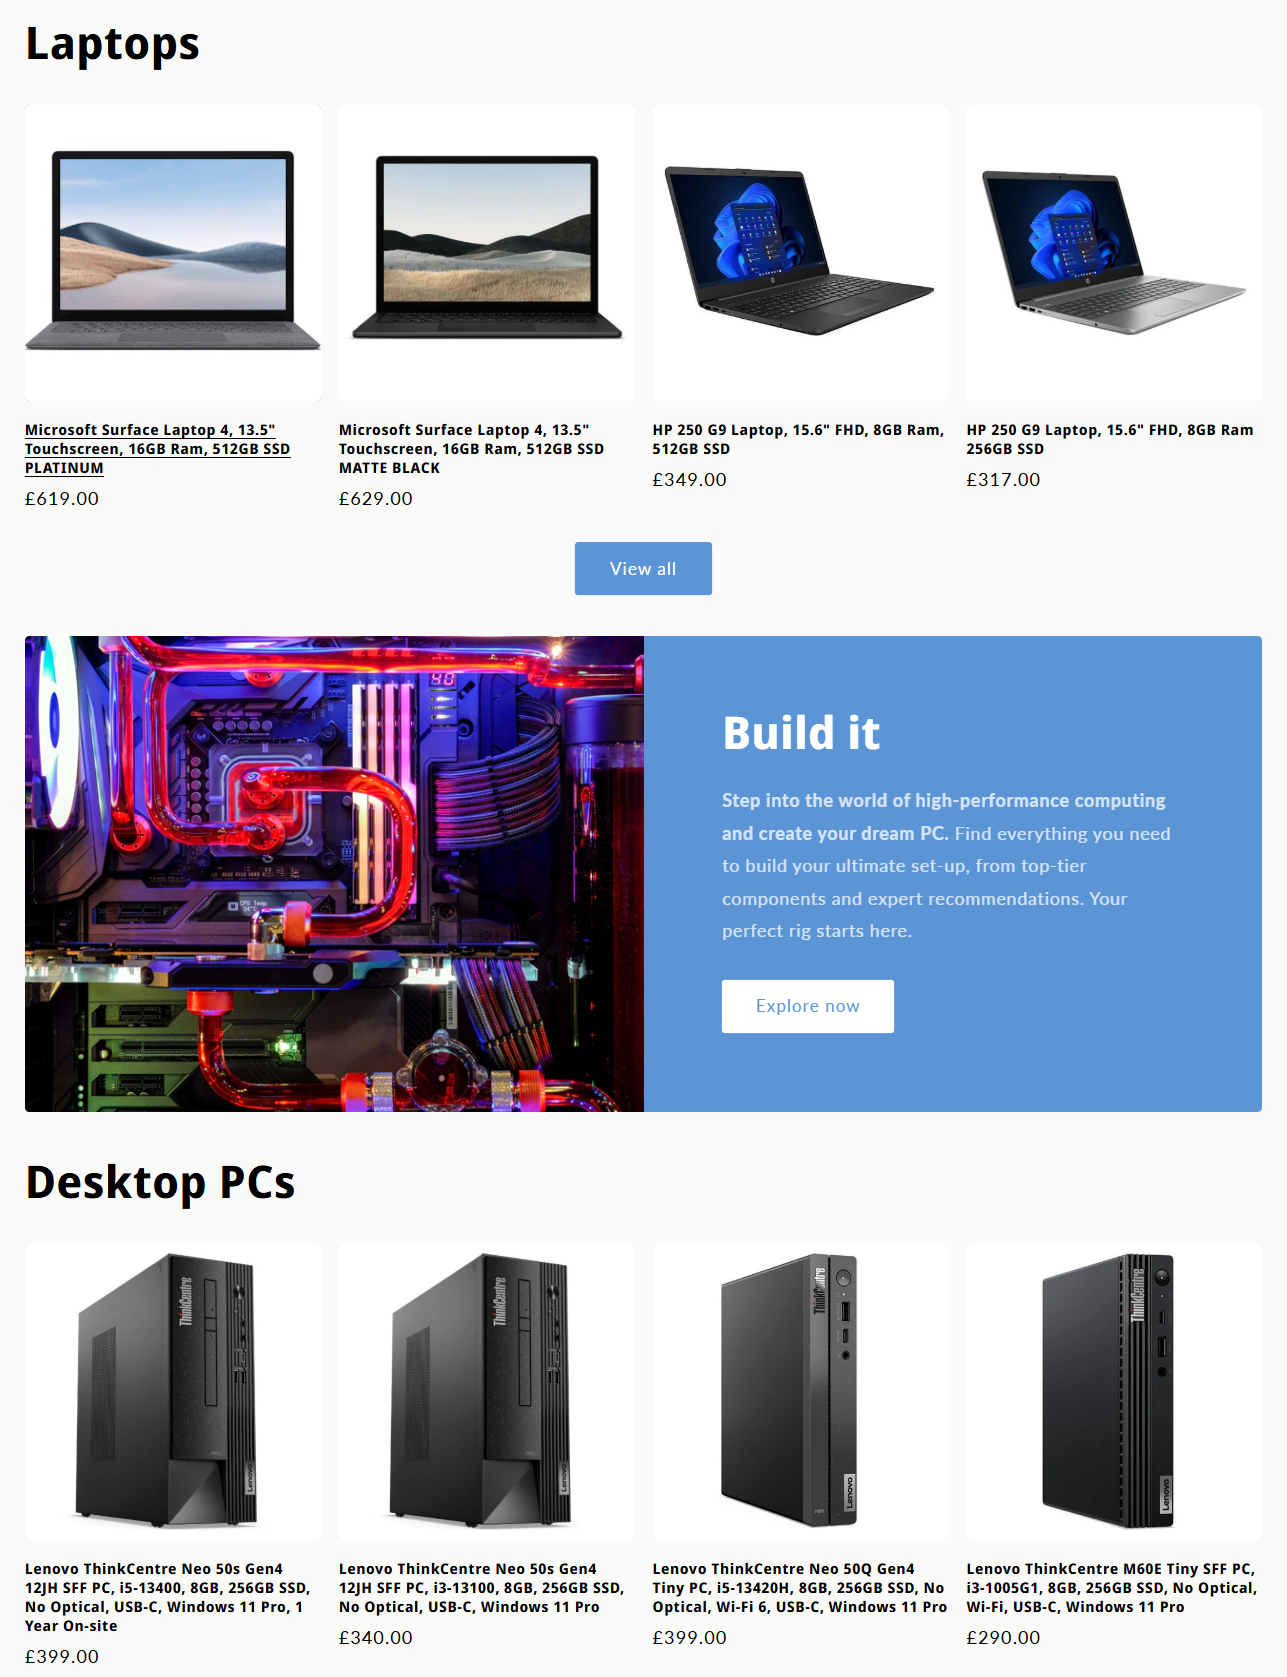
- Solutions - A "Build it" collection featuring all computer parts needed for custom builds. Many people often seek to build their own desktop PC set-up from scratch and so an area with everything you need for these seems like a good idea.
This hybrid approach acknowledges that tech customers shop in different ways. Some may know exactly what product they want, while others are looking for solutions to specific needs (gaming performance, custom builds, etc.). When you manage thousands of products on Shopify, having a well-thought-out collection structure becomes even more essential.
How to create collections on Shopify: smart vs. manual collections
When setting up collections, Shopify offers two methods: smart and manual collections. Understanding the difference is key to efficiently organising your store and implementing effective Shopify automation UK merchants can benefit from.
Smart Collections automatically include products that match specific conditions you set. For example, our "Gaming" collection automatically includes any product tagged with "gaming" or that has "gaming" in the title. This saves tons of time when adding new products — they automatically appear in the right collections through automated product management.
To create a smart collection:
- Go to Products > Collections in your Shopify admin
- Click "Create collection"
- Enter a title and description (important for SEO!)
- Select "Automated collection" under "Collection type"
- Set your conditions (product tag, type, vendor, etc.)
- Save the collection
Manual collections require you to add products individually. This gives you more control but takes more time to maintain. I use these for special featured collections or bundles. However, when dealing with bulk product management, manual collections can become quite time-consuming.
To create a manual collection:
- Go to Products > Collections in your Shopify admin
- Click "Create collection"
- Enter a title and description
- Select "Manual" under "Collection type"
- Save the collection
- Use "Browse" to add products individually
Going further: advanced collection ideas
Here are even more ways I might organise my products to improve the shopping experience and streamline Shopify operations:
- By brand - collections for popular manufacturers like Lenovo, HP, and Microsoft
- Price points - "Budget builds," "Mid-range systems," and "Premium performance"
- Special setups - "Work from home setup," "Student essentials," "Content creator gear"
- Bundles - pre-configured combinations like "Streaming setup" or "Complete gaming station"
These additional collections create multiple pathways for customers to discover products based on their unique shopping preferences. Some customers know exactly what component they need, while others are shopping for a solution to a problem (like setting up a home office) and appreciate curated collections. Using Shopify collection automation can help maintain these collections efficiently as your inventory grows.
Pro tip: With automated solutions like MeldEagle, you can efficiently manage thousands of products across multiple collections without the manual overhead. This becomes especially valuable when you're organising tech products that frequently update with new models and specifications.
How to create sub-collections in Shopify
As your product catalogue grows and you expand your product range on Shopify, you might want to create sub-collections (or nested collections) to further organise your products. For example, under our "Gaming" collection, we might want sub-collections for "Gaming laptops," "Gaming accessories," and "Gaming components."
Technically, Shopify doesn't have a built-in hierarchical collection structure, but there are two main ways to create the appearance of sub-collections without requiring technical skills:
Method 1: Using the navigation menu
This is the simplest approach to create sub-collections:
- Go to "Online Store" > "Navigation" in your Shopify admin
- Select your main menu (or create a new one)
- Add your main collections as menu items
- Add your sub-collections as menu items
- Drag the sub-collections underneath their parent collections
- Save your changes
This creates a dropdown navigation menu that shows the hierarchy of your collections, making it easy for customers to browse from general to specific categories.
Method 2: Collection pages with collection lists
This more advanced method shows sub-collections within a collection page:
- Create all your collections (both main collections and what will become sub-collections)
- Go to "Online Store" > "Themes" and customise your theme
- Edit your collection template to add a collection list section
- Select which collections to display as "sub-collections"
- Save your changes
This approach requires some theme customisation but provides a better shopping experience by showing sub-collections directly on the parent collection page.
Benefits of well-organised collections and sub-collections
Having an organised collection structure offers several key benefits for your Shopify store automation efforts:
SEO advantages
Well-structured collections and sub-collections create targeted landing pages that can rank for specific keywords. Each collection page can be optimised with relevant descriptions, helping search engines better understand your store's structure. This SEO automation through collections can significantly improve your organic traffic.
Improved user experience
When customers can find products more easily, they're more likely to convert. Sub-collections reduce decision fatigue by breaking large product catalogues into manageable sections, especially important when you scale your Shopify store.
Potential for increased sales
According to e-commerce experts, intuitive navigation can significantly impact conversion rates. A well-organised collection structure can lead to customers exploring more products, spending more time on your store, and potentially increasing average order values.
For example, our "Build it" collection is designed to showcase complementary products that work together. By organising products this way, we're creating an opportunity for customers to discover additional items they might need for their complete setup—rather than having to hunt through separate categories.
Easier inventory management
With products organised into logical collections and sub-collections, managing inventory becomes much simpler. You can more efficiently track which product categories are gaining interest and adjust your stock accordingly. This becomes even more powerful when combined with automated inventory management systems.
See it in action
Want to see how collection management works with automated product updates? Check out our video demonstrations of MeldEagle in action, including how we handle automatic product categorisation across thousands of items.
Best practices for creating Shopify collections
How to edit collections on Shopify and organise your products effectively:
- Think like your customer - Create collections based on how customers search and shop, not just product categories
- Use clear, descriptive names - "Build it" is more compelling than "Computer Parts"
- Feature collections prominently - Place your most popular collections on your homepage
- Use collection images - Choose visually appealing images that represent the collection
- Keep navigation simple - Don't overwhelm with too many collections in your main menu
- Optimise for SEO - Include relevant keywords in collection titles and descriptions
- Regularly review performance - Adjust your collection structure based on analytics data
How to update Shopify collections in bulk
Creating collections is just the beginning. As your store grows, you'll often need to update multiple collections simultaneously to save time and maintain consistency. Let me show you how to efficiently update Shopify collections in bulk using the Shopify bulk collection editor and other advanced tools.
Using Shopify's bulk editor
Shopify provides a built-in bulk editor that can save hours of manual work when you need to bulk edit products on Shopify:
- Go to "Products" > "Collections" in your Shopify admin
- Select the collections you want to update by checking the boxes next to them
- Click "Edit collections" at the top of the page
- Choose what you want to edit (SEO details, template, sorting, etc.)
- Make your changes and click "Save"
This method is a good choice for updating collection metadata like titles, descriptions, and SEO settings across multiple collections at once. However, for more complex Shopify bulk operations, you might need more advanced solutions.
Bulk updates via CSV import/export
For more extensive changes, you can use Shopify's import/export functionality for bulk product updates on Shopify:
- Go to "Products" in your admin panel
- Click "Export" and select which products you want to export
- Open the CSV file in Excel or Google Sheets
- Make changes to the collection columns
- Save the file and import it back into Shopify
This approach is particularly useful when you need to reassign many products to different collections simultaneously, though it still requires manual work compared to full Shopify automation tools.
Using smart collections for automated updates
One of my favourite time-saving techniques is to convert manual collections to smart collections when I need to make widespread changes. This approach leverages automated collection management:
- Create a new smart collection with conditions that match the products you want to include
- Add appropriate tags to your products in bulk
- Let the smart collection automatically update based on those tags
For example, when reorganising our tech store's gaming accessories, I added the tag "gaming-peripheral" to all relevant products and created a smart collection that automatically included anything with this tag. When new gaming accessories arrive, they're automatically added to the collection once tagged, demonstrating effective product listing automation.
Time-saving tip for tech stores
With our extensive tech inventory, I've found that using product tags consistently is crucial for efficient collection management. When importing new products from suppliers, I immediately add standardised tags that correspond to our collection structure. This way, products automatically appear in the right collections through our smart collection rules, saving hours of manual assignment and helping automate repetitive tasks.
When bulk updates make sense
Updating collections in bulk is particularly valuable when:
- Reorganising your store structure
- Running seasonal promotions
- Launching new product lines
- Implementing store-wide SEO improvements
- Standardising collection templates
Automation tip: With MeldEagle, you can completely automate collection assignments for new products based on your predefined rules. This is a huge time-saver when working with large catalogues that are frequently updated, offering true Shopify catalogue automation.
To sum up
Creating logical, intuitive collections is one of the easiest ways to improve your Shopify store's user experience. Learning how to create collections on Shopify effectively, including sub-collections, can dramatically improve how customers interact with your store. Whether you're using tools like Matrixify for bulk updates or exploring more advanced automation solutions, proper collection management is essential for success.
So if you're just starting out or looking to reorganise an existing store, I hope these insights from my ongoing Shopify journey have been helpful. The combination of well-structured collections and smart automation can transform your store management from a time-consuming chore into an efficient, scalable system.
Have you set up collections in your Shopify store yet? What approaches have worked well for you? I'm always happy to hear from you: hello@redeagle.tech


